How to Number Event Tickets (And Why the Number Isn't Enough)
- 12 Jul, 2026
Two hundred tickets for a fundraiser. You design one, it looks good, and then you hit the part nobody writes about: making all two hundred different from each other.
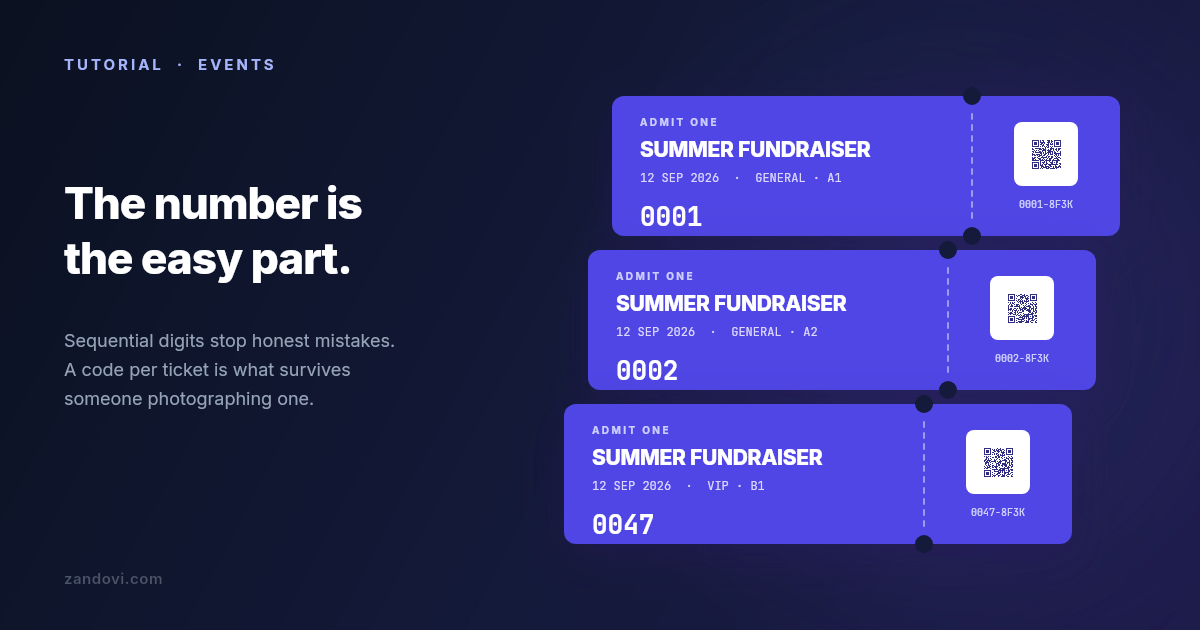
The naive version is a sequential number in the corner. That’s worth doing, but be clear about what it buys you. A printed number stops you double-selling seat 47 and gives you something to write on a refund note. It does not stop anyone photographing a ticket and showing the photo at the door, because the number on the photo is just as valid as the number on the paper.
So this covers both halves: producing the run with real per-ticket data, and making the ticket checkable rather than merely numbered.
What a ticket has to do
Three jobs, and they pull in different directions.
It has to look like your event, which is a design problem. It has to be readable in about two seconds by someone standing in a doorway in bad light, which is a typography problem. And each one has to be distinguishable from every other one, which is a data problem. Most ticket tutorials only solve the first.
The door test is the one people underestimate. Whoever is checking tickets is looking for the date, the tier, and whether it’s real. Put those three where the eye lands first and let the artwork be artwork. A beautiful ticket that makes someone squint at 7pm is a worse ticket.
Start from a template if one fits
You don’t have to design from nothing. There are 13 ticket designs in the template gallery, covering concerts, festivals, theatre, raffles, parking, sports, conferences and a few others. Open the gallery, choose the Tickets tab, and open whichever sits closest to your event. You can change every colour, font and element afterwards, so pick on layout rather than on palette.
Be clear about what that actually saves you. A template gives you the composition and the artwork, which is the slow part. It does not arrive pre-wired with variables, and it’s built on a 1200×600 px canvas rather than a physical paper size. So everything below still applies: you set the units and DPI yourself, and you mark your own variables in Step 2. What you skip is the blank page and the hour of nudging things into alignment.
Step 1: set the canvas up for print before you design
Open the New Canvas dialog and pick from the Tickets preset category, or set your own dimensions. If you’re sizing manually, switch the units from pixels to millimetres or inches first. Designing in physical units and letting the app compute the pixels is much less error-prone than picking a pixel size and hoping it lands on a sane paper size.
Set the export DPI to 300 now rather than later. The DPI options are fixed at 96, 150 and 300, so this isn’t a free-form field you can fine-tune afterwards, and a canvas laid out for screen then pushed to print is how you get a soft logo on 200 pieces of card.
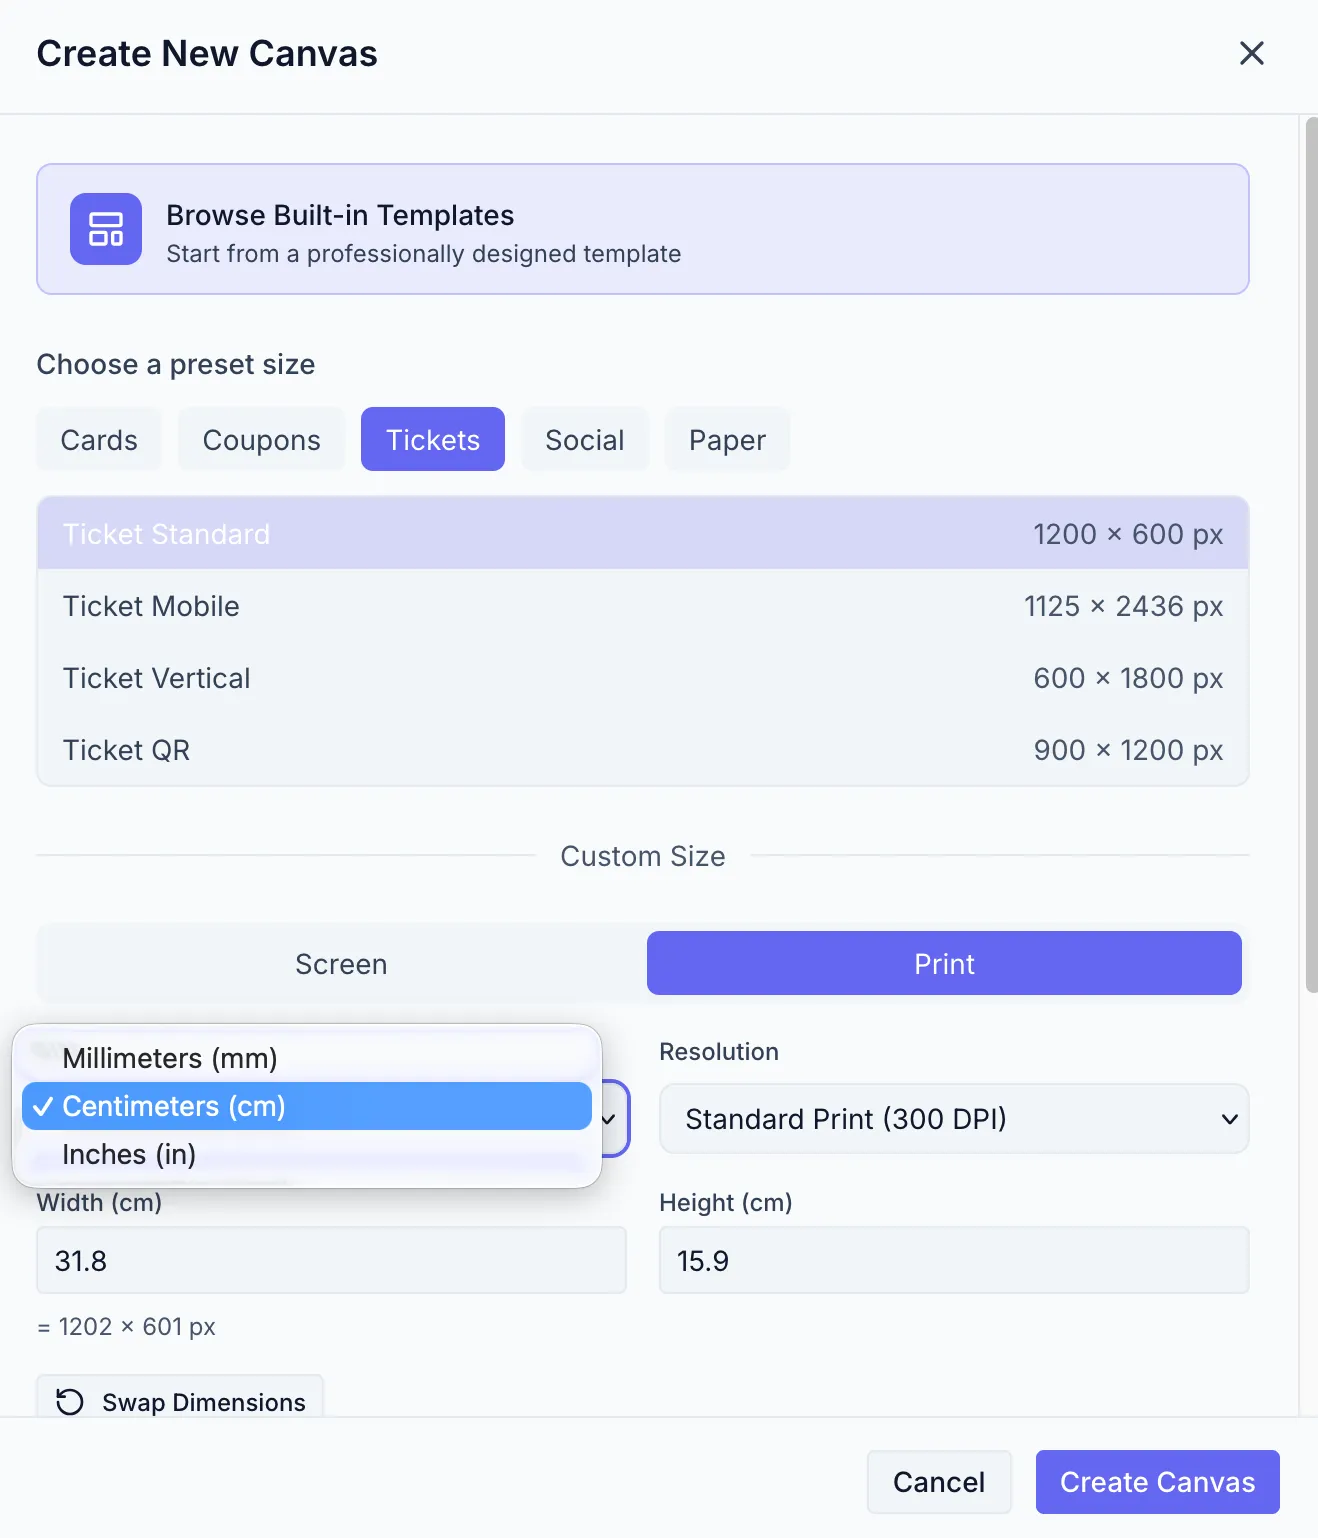
One thing to know up front: there’s no bleed or crop-mark support. If your design runs colour to the edge and you’re using a commercial printer, ask them what bleed they want, then add it yourself by making the canvas that much larger and keeping the trim area clear of anything important. For home printing on perforated stock this doesn’t come up.
Step 2: decide what changes per ticket
Everything that differs between ticket 1 and ticket 200 becomes a variable. Select the element, mark it as a variable, then give it a name:
| Variable | Element | Notes |
|---|---|---|
ticket_number | text | Pad to a fixed width in the sheet so leading zeros survive. 0047 sorts and reads better than 47. |
tier | text | Set its Allowed values to your real tiers, so a typo in the sheet is caught before printing. |
holder_name | text | Only if tickets are named. Turn on auto-fit so long names don’t overflow. |
seat | text | Optional, with the same allowed-values trick as tier if seats come from a fixed set. |
verify_qr | QR code | The half that actually matters. See below. |
Add a description to each one. If someone else fills the spreadsheet later, that single sentence prevents most of the questions.
The fixed parts, meaning the event name, date, venue and artwork, stay as ordinary design. They’re the same on every ticket, so they never touch your data.
Step 3: build the numbers in your spreadsheet
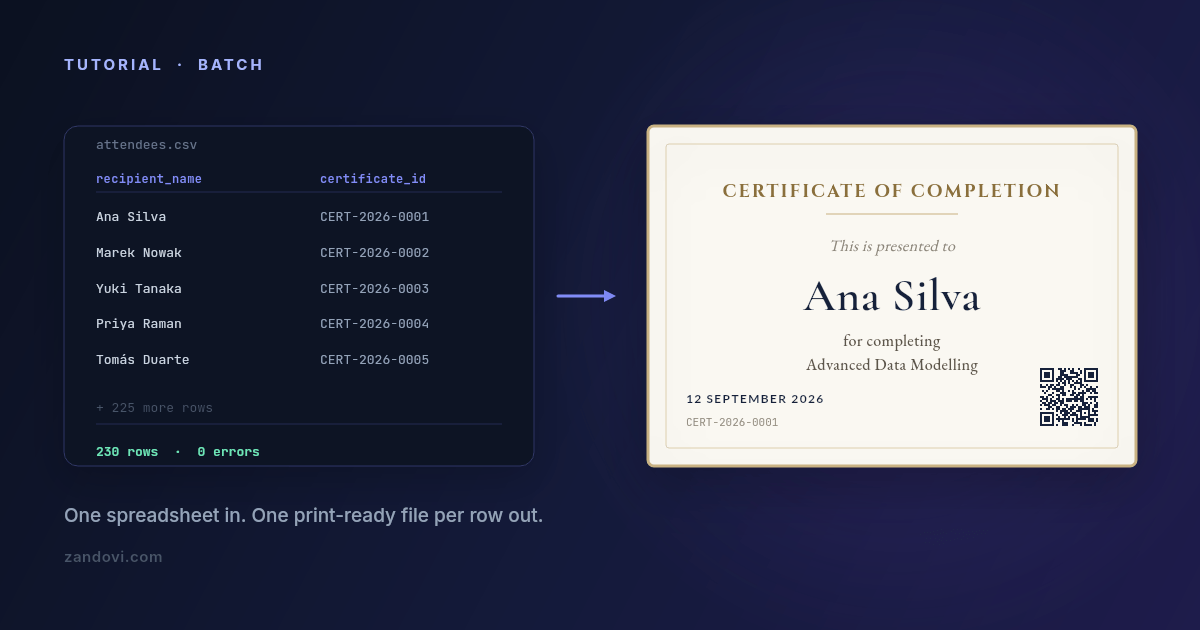
Here’s the honest bit: there is no auto-increment feature. Zandovi doesn’t generate a sequence for you. The numbers come from the CSV you upload, which means your spreadsheet is what produces them.
That’s less of a limitation than it sounds, because a spreadsheet is genuinely good at this and it leaves the sequence under your control. Download the CSV template from the Batch tab so your headers already match the variable names, then fill down:
ticket_number,tier,seat,verify_qr
0001,General,A1,https://example.com/t/0001-8F3K
0002,General,A2,https://example.com/t/0002-QW7P
0003,VIP,B1,https://example.com/t/0003-M2XR
Two habits worth adopting. Pad the numbers to a fixed width (0001, not 1) so
they sort correctly and look deliberate. And don’t make the verification URL
guessable: append a short random suffix to the sequential part, as above.
A purely sequential URL means anyone holding ticket 0003 can guess 0004 through
0200.
When you’re done filling down, check the first and last rows. Off-by-one errors in a fill-down are invisible until someone at the door scans a code that belongs to a different person.
Step 4: the QR code is the part that does the work
Bind a QR element to the verify_qr variable and every ticket carries its own
link. This is the difference between a ticket that looks unique and one that is
unique, because the code encodes something your system can check when it’s
scanned.
Three constraints matter once it’s on paper. The QR element has a 75×75 px minimum, and 100×100 is the sensible floor, because smaller codes fail to scan at exactly the moment you can’t afford it. Use the Print Safe button to get the quiet zone right, since the four-module margin around the code is what lets a scanner find it at all. And test the real printed output before committing to the run: print one, then scan it with the oldest phone you can find, in bad light.
If your door hardware is a laser scanner rather than a phone, use a barcode element instead. CODE128 handles alphanumeric ticket IDs, with EAN13, UPC, CODE39 and ITF14 also available. Barcodes have their own minimums of 100 px wide and 40 px tall.
One caveat worth stating plainly: generating the code is not the same as validating it. Zandovi produces a ticket carrying a unique URL. Whether that URL has already been used at the door is a question for whatever sits behind it, whether that’s your event platform, a spreadsheet someone ticks off, or a small app you write. If nothing checks the code, the QR is decoration.
Step 5: let validation catch the bad rows
Upload the CSV in the Batch tab. Before anything renders, your headers are matched against the variable names and every row is checked against the template’s rules. Missing required values get flagged, as does a tier outside your allowed values, or QR data too long to encode.
This step matters more for tickets than for almost anything else, because the failure is expensive and late. A bad row in a set of certificates costs you a reprint. A bad row in a set of tickets costs you an argument at the door with someone holding a ticket that doesn’t scan.
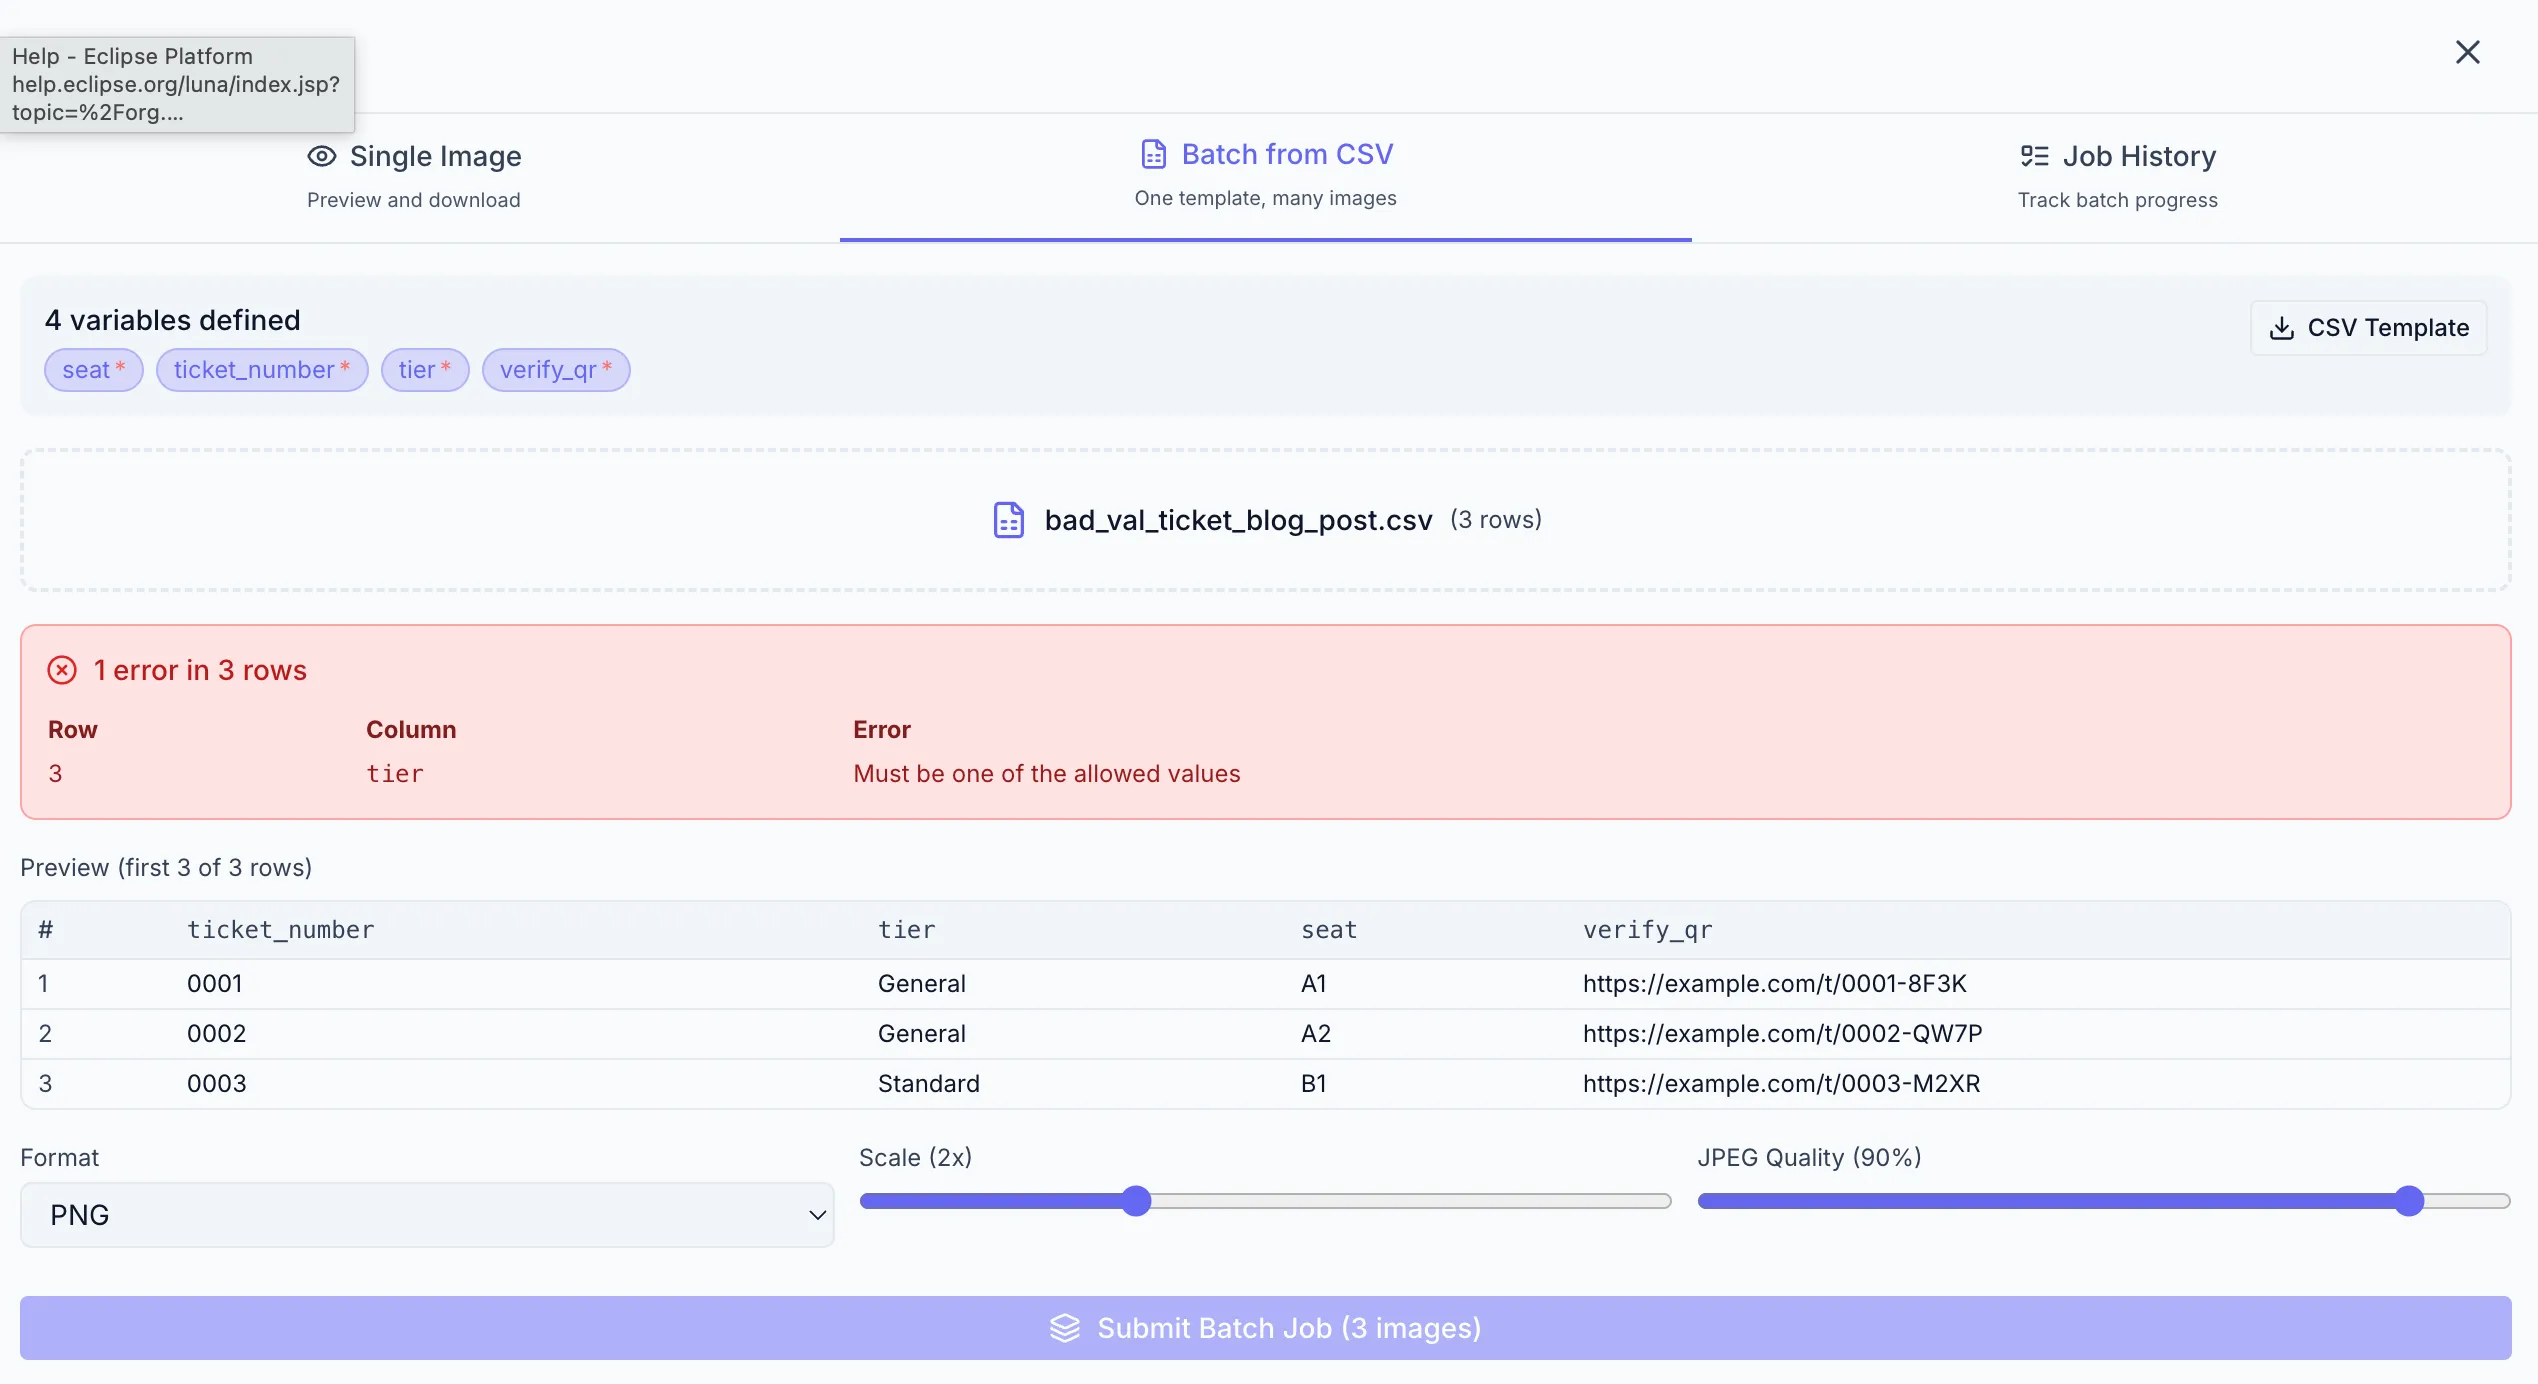
Fix the flagged rows in the sheet, re-upload, re-validate, then submit.
Step 6: generate and print
Choose PDF at 300 DPI for anything going to a printer. The job appears in the list with a status of PENDING, PROCESSING, COMPLETED or FAILED, and when it’s done, Download Results gives you a ZIP with one file per row.
Row caps per job depend on your plan: 25 on Free, 100 on Personal, 200 on Studio, 300 on Team, 400 on Business. So a 200-ticket run is one job on Studio and two on Personal. Split by tier or by date rather than by arbitrary row ranges, and each ZIP maps to something you can actually hand to someone.
Every rendered row counts as one render against your monthly pool, so 200 tickets is 200 renders. Renders that fail are refunded automatically, and a batch rejected at validation is never charged, so a failed job costs you time and not quota.
There’s also a maximum output resolution that varies by plan, so if you’re producing large-format passes rather than pocket tickets, check that before you design rather than after.
Making the ZIP usable on the day
Files in the ZIP are named from your data, which is the reason to have a
ticket_number column even if the number never appears prominently on the
design. A ZIP of 0001.pdf through 0200.pdf can be matched against your guest
list. A ZIP of anonymously named exports cannot.
Keep the same CSV as your source of truth. It already has the number, the tier and the verification URL, so if you add an email column it becomes both your send list and your door list, and the files line up with it row for row.
When to skip the spreadsheet entirely
The batch flow is a human workflow. You sit down, you make 200 tickets, you’re done. That fits an event, because events have a date and tickets get made before it.
It doesn’t fit selling tickets continuously. If a ticket should exist the moment
someone pays, at whatever hour that happens, you want the same template called
from your backend instead: one POST per purchase carrying that buyer’s number
and URL, PDF bytes back, attached to the confirmation email. Same template, same
variables, nobody at a keyboard.
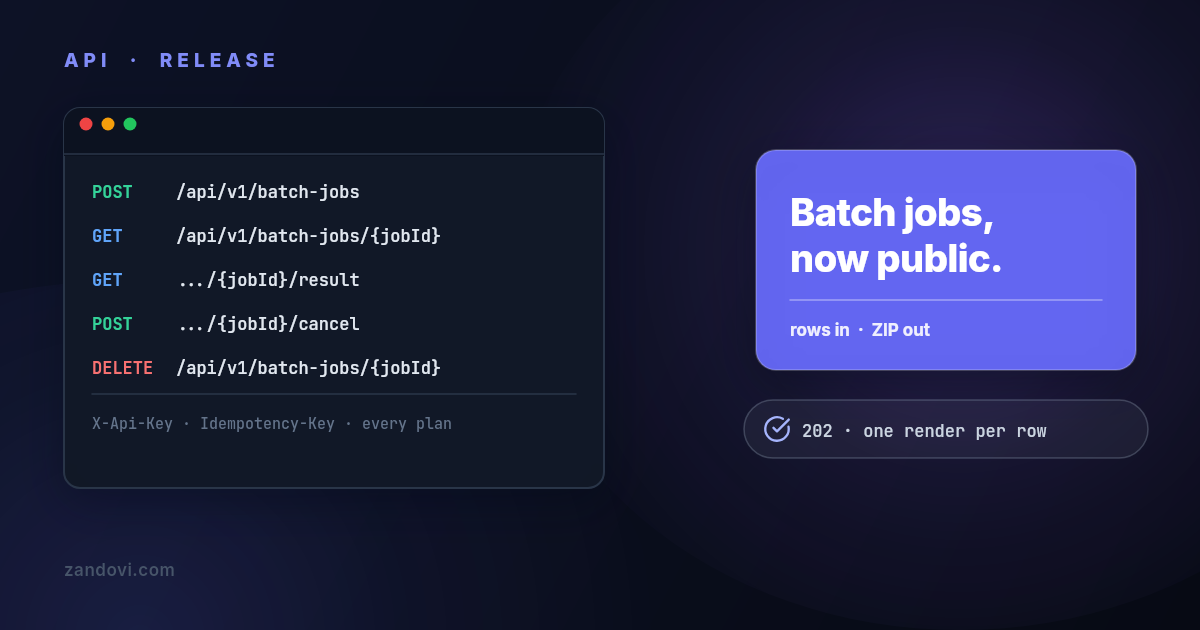
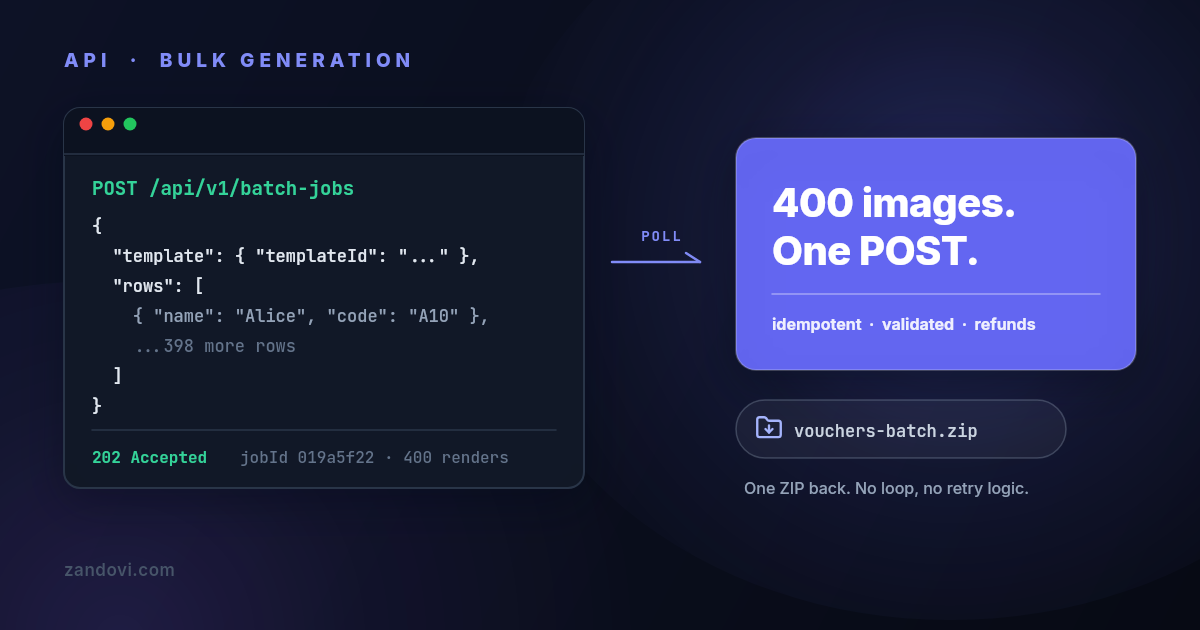
The pre-sale run itself can also skip the spreadsheet: if the guest list is already in your database, the batch API takes the same 200 rows in one request and returns the same ZIP, numbered filenames included. It’s the upload tab without the upload.
Most event organizers end up using both, because the pre-sale run and the walk-up ticket are genuinely different problems.
What this costs
A 200-ticket event is 200 renders. The free plan’s 100 renders a month covers a small event or a test run of one tier. Beyond that you’re on Personal at $29/month for 5,000 renders, which covers a season of events rather than a single one, and manual exports from the editor don’t count against it.
The batch generation guide covers the dialog step by step, and the template gallery has 13 ticket designs to start from rather than a blank canvas.